
For this lab, we will boot up a Kali Linux machine using Hyper-V Manager. The focus of the this lab revolves around digital forensics. When encountering infected computers that contains corrupted files, it is important not to tamper or change anything within that file. A perfect example of this is revealing computer evidence in court. There has to be proof that us as digital investigators didn’t change any data within the malicious file or else the judge would release charges or allegations held against a presumed cyber criminal. In order to proceed with caution, it is important to involve proper digital forensic skills in the process. To set up this similar type simulation in this lab, we’ll be installing a flash drive attached to this VM. The flash drive contains “simulated” corrupted or malicious files within it. But to closely analyze and interact with this malicious file, we’ll be using an autopsy tool in Kali Linux.
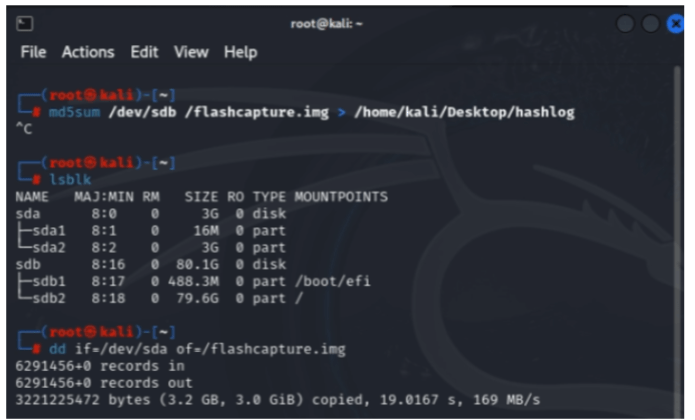
After the initial installation of Kali, we’ll be using it’s command line to copy the file hash of the corrupted file. Notice in the picture how we are using a hash algorithm of “md5sum”. This is a weaker hashing algorithm compared to other modern types, but since we are hashing files for investigation purposes vs. testing the integrity of files over the internet. It’s no big deal. In this scenario, “sda” represents as the corrupted flash drive connected to the Kali machine. The following script “dd if=/dev/sda of=/flashcapture.img”, is what safely copies the corrupted file for examination.
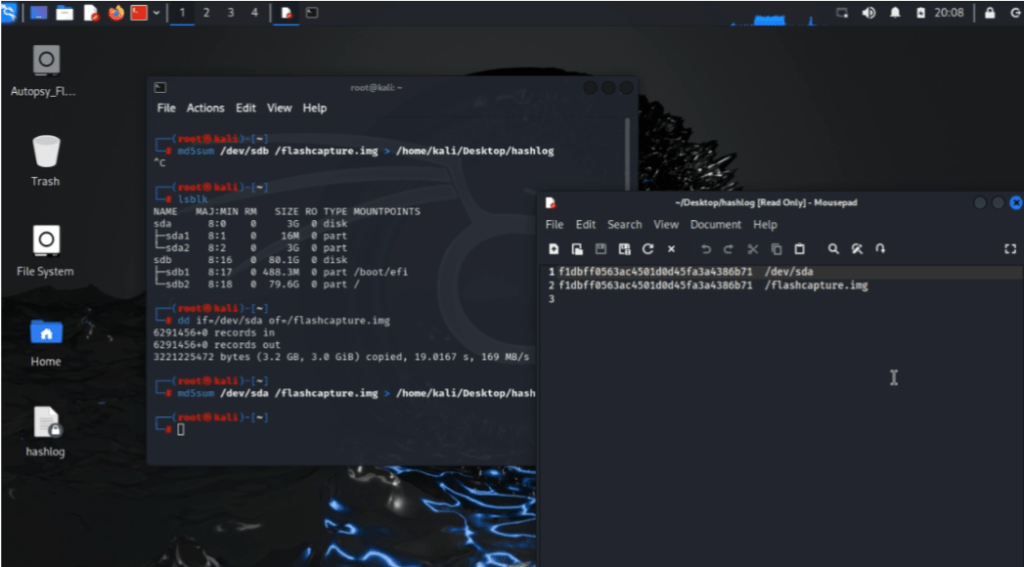
This also creates an accessible file that we can access from the desktop. The file will be named “hashlog” containing one exact copy of the malicious file in md5 hash format. We’ll now use the file hash that we just copied to perform a close-up “case-study” or investigation on the file. To access the web browser tool “Autopsy Forensic Browser”, we would have to return back to the Kali terminal as root and input “sudo autopsy”.
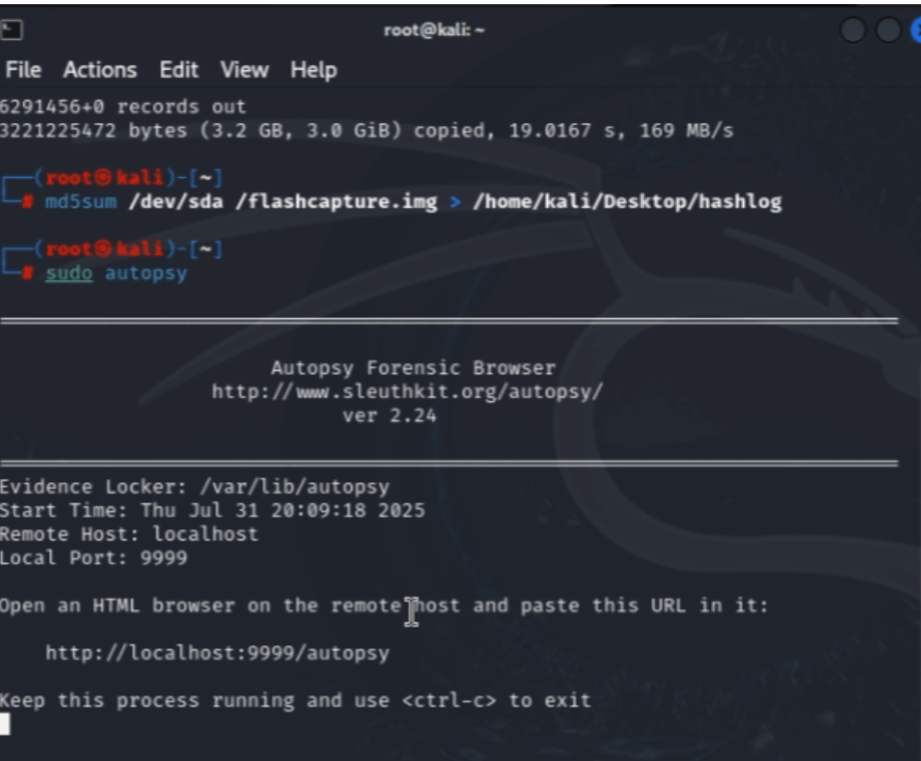
This gives us a link to access the Autopsy tool on the browser.
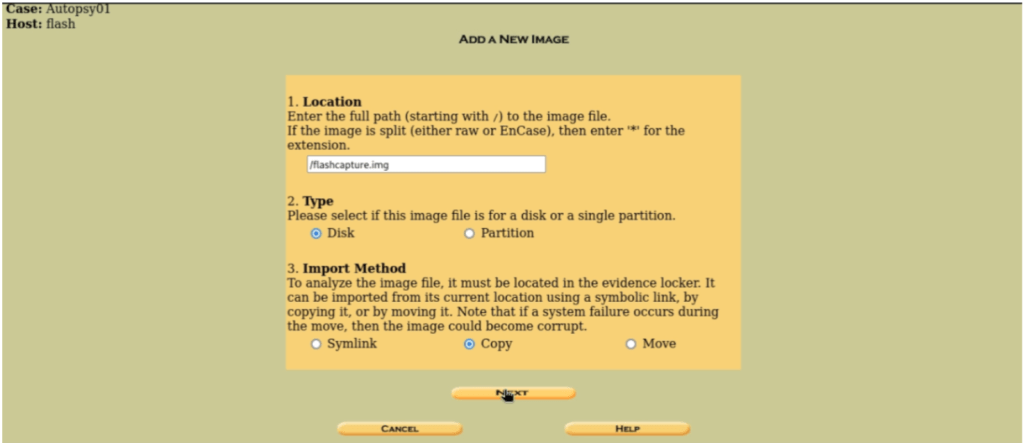
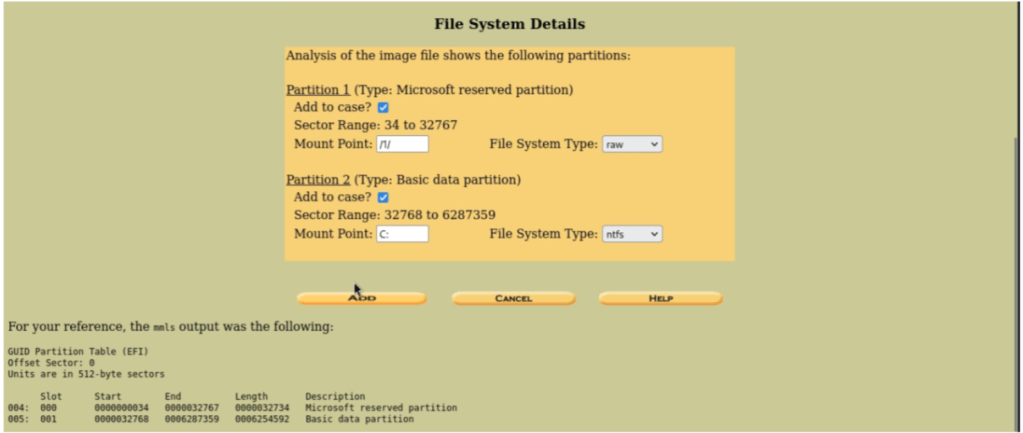
After completing the initial set-up process of the investigation, you’ll arrive to this screen that would require you to add a new image. Then it would demand for the file path location which is “/flashcapture.img” in this case. We’ll then select “Disk” as the file type and finally copy the disk.
The tool then automatically calculates the file hash in MD5 hash format. When complete, it will then confirm that the autopsy made the exact same output as the original file hash. Which in this case, it did!

With the file now being properly setup for close examination, we can freely view any meta data and malicious content freely without interfering with the integrity of the file.
